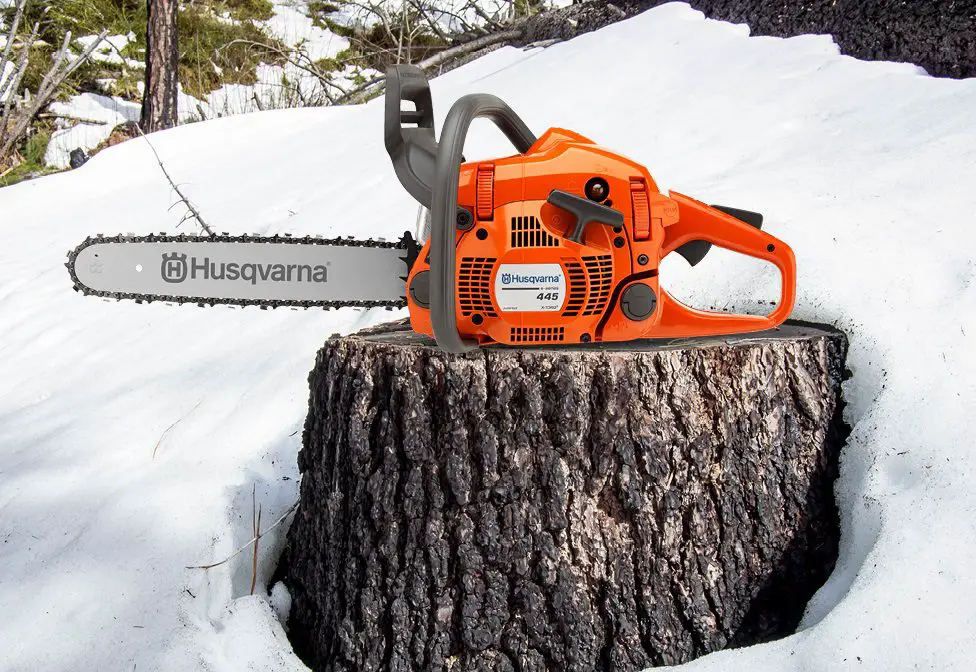
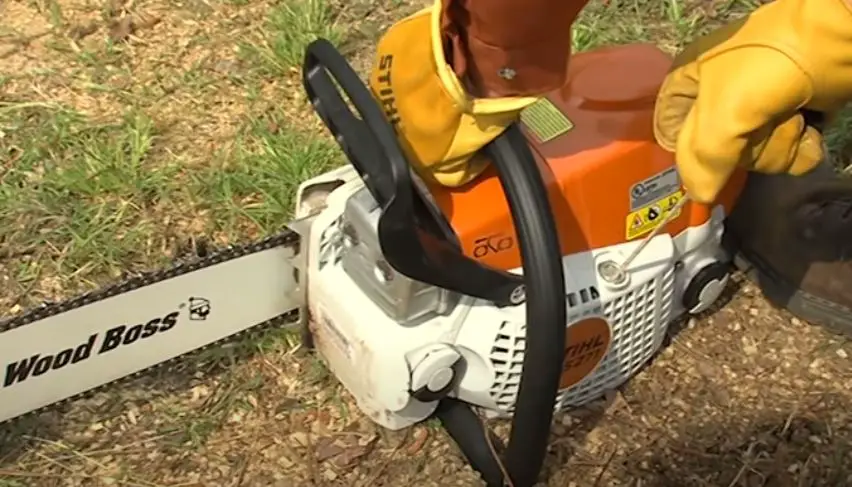
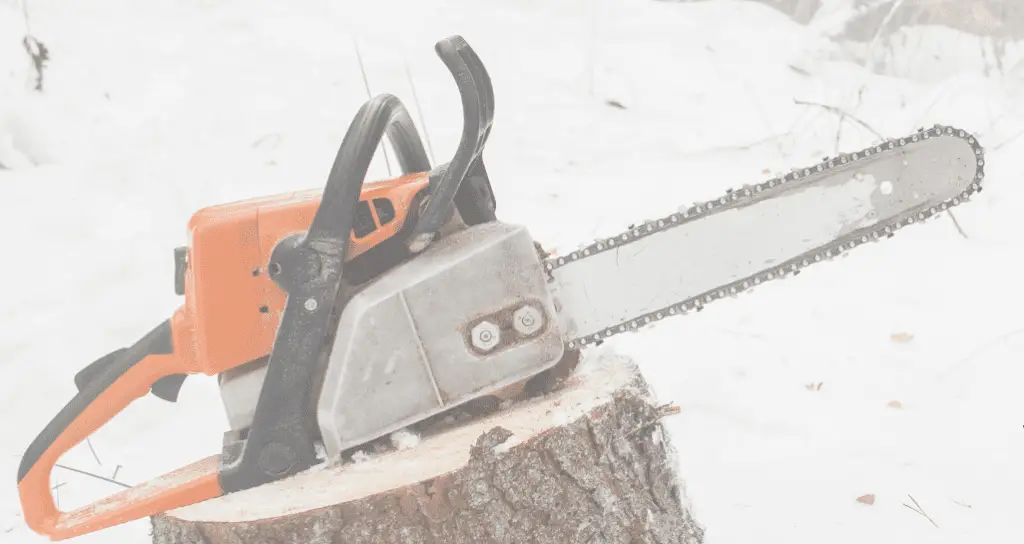
To store a chainsaw for winter, drain fuel, clean the air filter, spark plug, and chain brake. Sharpen and lubricate the chain, and protect the guide bar with a cover. Store the chainsaw horizontally in a dry, cool, and well-ventilated area, preferably with a protective case or scabbard.
Learning how to store a chainsaw for winter is pretty easy. The process takes around 15 minutes, but it’ll save you plenty of time and effort in repairs and fix-ups.
It’s true that most tools are hefty and robust, especially if they come with a gas engine, like your chainsaw. Yet, despite all that brawn, they wouldn’t last very long without the proper care and upkeep.
So, are you ready to find the best way to winterize your chainsaw? Then, keep reading.
Table of Contents
What Happens to Chainsaws in Winter
Tools you usually don’t use during the colder months are more vulnerable to damage. This could be brought on by frost and moisture.
In chainsaws, damage caused by low temperatures and freezing conditions can appear in various forms. Take a look.
Rust and Corrosion
Rust makes the entire machine degrade at a much faster rate. If it doesn’t affect the outer build of the chainsaw, it’ll render the most vital components useless.
Remember that rust isn’t always on the outside where you can see it. It also affects the inner parts of the chainsaw, like the gas tank.
Warping
Warping refers to the bending of metals caused by extreme weather conditions and insufficient lubrication.
So, while we can’t control the weather or how it affects metal, we can ensure that they’re well-taken care of year-round. One way we can do that is to avoid exposing them to extreme weather conditions.
It also means using a biodegradable lubricant on all the parts. Do this once before storing the chainsaw for the winter, and preferably a second time when you’re ready to use it again in the spring.
Engine Stalling
Fuel and water aren’t a good combination, especially inside your chainsaw engine. The problem with this is that there’s a lot of moisture during the winter season.
If that moisture finds its way inside the engine system, it’ll likely cause the engine to start sputtering. If left unchecked, this will cause the engine to stall, which means you’ll spend a lot of time and money repairing the entire engine system.

How to Prepare a Chainsaw for Winter
It pays to follow these steps to winterize your chainsaw. Then, come springtime, your power tool is prepped and ready to go!
Step 1: Gather All the Equipment You’ll Need
Here’s a list of all the required equipment you’ll need for this process:
- Shop towels
- Scrench
- Chip brush
- Two-stroke engine oil
- Bar oil
- Vinegar
- Gas can
- Funnel
- Primer bulb
- Fuel stabilizer
- An eco-friendly lubricant, such as a commercial brand, a corrosion inhibitor, or canola oil
- Air filter (optional)
Step 2: Stabilize the Engine
Find a well-ventilated area and add the fuel stabilizer to the two-stroke oil in a large gas can. Stir the liquids or give the container a shake to ensure they’re well combined.
Next, pour the mixture into the chainsaw’s gas tank. This is what the experts call ‘stabilizing’ the engine, or getting it ready for use in the spring when you’re ready to take it out again.
The good news is that now the gas has stabilized, you can safely store it away for the next season.
Step 3: Empty the Gas Tank
Put a funnel in the gas can with the stabilizer and two-stroke oil mixture. Then, hold up the chainsaw and position the gas tank opening over the funnel.
Finally, pour out the gas mixture back into the container. As you’re doing this, you might want to also pump the primer bulb to ensure that all the gas is flushed out.
Step 4: Clean the Gas Tank
Cleaning the gas tank once a year is a great way to boost its product life and make the chainsaw work more efficiently. Most chainsaw owners recommend using gas tank cleaners because they’re great at removing stubborn sludge and crud stuck inside the tank.
You can also use an all-natural solution: white vinegar. Vinegar is highly acidic, which makes it great at breaking down sludge and removing gunk from within the tank.
Step 5: Start the Engine
Another way to ensure no gas is left in the tank is to power the engine. The best way is to start the engine and let it die out.
Remember that you may have to repeat this several times until the engine can’t start anymore. Also, try giving your chainsaw a slight shake as it’s idling to help get rid of any residual gas.

Step 6: Check the Filter
Open up the top casing to remove the filter. Using a brush or a shop towel, wipe away dust and debris.
However, it could be time to get a new filter if you see any signs of damage, cracks, or fractures.
It’s worth noting that chainsaw filters are specific to the make and model of each engine. So, make sure you get the right one for your chainsaw.
Step 7: Clean the Engine
Get your chip brush and gently wipe away any dust and debris that may be stuck inside the case. You’ll notice there are several folds and crevices. So, make sure you go over each one to ensure nothing gets left behind. I’ve written more thoroughly about how to clean a chainsaw if you need more info.
Step 8: Remove the Bar and Chain
The sprocket on the side of the chainsaw, which locks the bar and chain in place. So, to remove them, you need to first open the cover of the chain sprocket.
Working slowly, wipe away the grime and debris stuck on the sprocket and the chainsaw’s body. Then, using a biodegradable corrosion inhibitor, clean the bar and chain.
This inhibitor helps lubricate the moving parts and protect them from rust and corrosion.
How to Store a Chainsaw in Winter
Now that you’ve prepped your chainsaw, it’s time to store it away for the cold winter season.

Step 1: Reassemble the Chainsaw
We will do the same with the stabilizer and oil mixture. Work backward, starting from reattaching the bar and chain onto the sprocket.
Some people prefer storing their chainsaws with the bar and chain not attached. You can certainly do that if you want. Yet, you’ll still need to add a layer of lubricant before covering them up for the winter.
Next, put in the clean air filter and close up the cover. Finally, tighten all the nuts, bolts, and screws using a scrench tool.
Step 2: Choose a Suitable Cover
We advise you to get a carry case or bag specially designed for your chainsaw model. However, some people place their chainsaws in commercial weather-proof plastic sheeting. Others drape a cloth or sheet over them to protect them from the elements.
They’re all great ideas. Yet, it mainly depends on what you have on hand and how much you’re willing to spend.
Step 3: Store Away the Chainsaw
Make sure you pick the perfect spot to store your chainsaw for the winter. It has to be dry, and away from moisture, humidity, and direct sunlight.
It should also be stored on a high shelf or a locked cabinet out of the reach of children and pets.
How to Maintain a Chainsaw
There are four main rules to keeping your chainsaw in good condition year-round.
Step 1. Clean
Cleaning all the chainsaw parts is vital to ensure it does what it’s supposed to do. The problem is each part needs to be cleaned separately.
For example, you can remove the chain and soak it in water and ammonia for about 30 minutes. Then, with a soft brush, scrub away any debris and grime.
Then, there’s the tank, air filter, and carburettor. When you’re done, your chainsaw won’t just perform well; it’ll also be nice and shiny.
Step 2. Lubricate
The guide bar and chain must always be oiled to prevent friction and overheating and boost performance.
To check whether there’s enough oil on the blades, hold up a piece of cardboard over them, then start the engine. As soon as the blades rotate, you should see oil spray on the cardboard’s surface.
If you don’t, that means there’s not enough oil on the blades.
Step 3. Sharpen
You should sharpen the blades once or twice as part of your maintenance routine.
To do this, secure the chainsaw to a work surface via a clamp or vise. Then, to make sure it stays there, use a hard guard.
Next, using a sharpening file, push it across the surface of each tooth about 6–8 times. Then, do the same thing on the other side of the blade.
Remember to always move the file in one direction, preferably away from you for best results. Also, use the same number of strokes for each tooth.
Step 4. Use New Gas
If you don’t regularly use your chainsaw, it’s likely that the gas in the tank has deteriorated and formed a thick sludge that plugs the carburetor.
For this reason, I recommend adding enough gas to last a month.
Another option is to use a fuel stabilizer. This additive is designed to keep the gas fresh for several months.
A Final Note
After reading our guide on how to store a chainsaw for winter, you’re now a certified pro! Remember that proper care and maintenance go a long way in protecting your expensive power tools.
While these steps may seem difficult initially, you’ll quickly become adept at knowing what to do and what not to do. Then, after a while, it’ll all become second nature.
