Using a sharp axe improves your felling efficiency and safety by reducing the amount of effort you need to apply. There are six easy methods to sharpen your axe including using a file, a whetstone, a river stone, a dremel, an angle grinder, and a belt sander.
The sharper your axe, the easier, faster, and more pleasant it will be to do your work. Splitting axes or mauls don’t have to be as sharp because they’re meant to split logs and rounds of wood with blunt force, not cut into them. But the rest – hatchets, felling axes, limbing axes, tomahawks and more – have to be sharp to work as well as you want them to.
This in-depth article will teach you everything you need to know about sharpening axes, from prep work to proper technique and how to use the tools you have at hand, whether they’re human-powered (such as files and whetstones) or electric, like dremel tools, belt sanders, or even a bench grinder.
Read on to find out all about the sharpening process for axes!
If you’re interested in axe sharpeners (that work for other bladed objects as well), here is a list with 5 great axe sharpeners that I put together.
Table of Contents
Axe Sharpening Preparation
When you sharpen your axe, you should wear gloves of some sort. There’s no need to go overboard with thick gloves – in fact that may well make the process more cumbersome and time-consuming. A pair of light cotton gloves protect your hands and fingers from nicks and cuts, which can be nasty if you make your axe very sharp.
If you’re sharpening your axe in an enclosed space, you should wear a dust mask. If you plan on using power tools, a respirator and safety goggles or glasses to protect against metal dust are necessary, not a luxury.
If your axe is rusty, you’ll want to remove the rust before doing any sharpening. You can do that with steel wool, a rust eraser, or coarse-grit sandpaper. Use sandpaper, applying even pressure and rubbing it from the handle part of the axehead to the blade. You can work it with finer and finer sandpaper until it gleams.
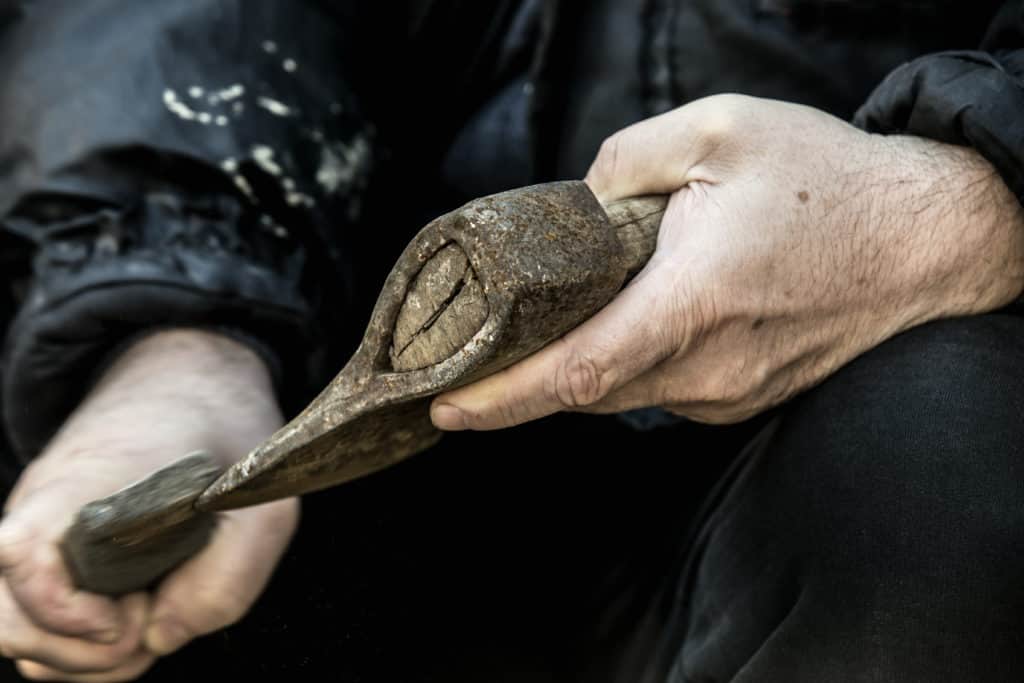
Place your axe on a flat surface or clamp it in a vice, if you have one available. Of course, you might be reading this on your phone in the woods, wondering where you’ll find a flat surface on which to place your axe. In that case, you can also hold it upright, standing it firmly on the ground or on a stump. Some people hold the axe in their lap or grip the axehead in their hands. The main thing is to hold it steady as you’re working on it with your tools.
1. Sharpen an Axe with a File
Equipment Required
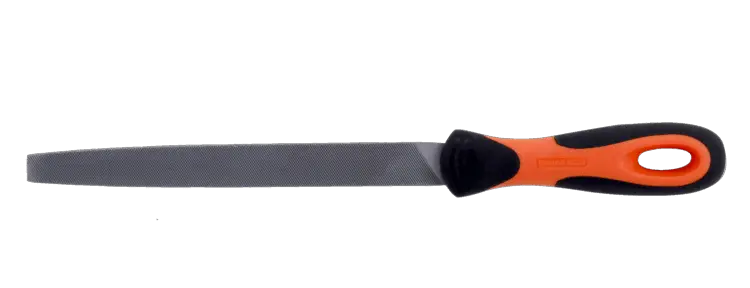
The file does the initial rough work of shaping the cutting edge and the profile of the axe blade. I like to use any file between 8” and 12” (or 200 and 300 mm) long. The best choice is a bastard mill file, which is made for sharpening axes.
The file I use, for example, is a Bahco 8-inch bastard mill file, which has a handle that is easy to grip and is made in Portugal, in Europe, and so is of a much better quality than the cheap files made in Mexico or China. Shorter files won’t have their “teeth” set in the same density, and you won’t get as good an effect. You can go with shorter files for hatchets, though.
Step 1 – Remove the burr
Unless your axe’s shape is quite deformed, you’ll want to keep the edge of the axe as it is. Most axes have a convex shape of 20º to 30º. Follow the blade’s curve, applying even pressure with each stroke of the file. You can hold your file in the classic way, with one hand. You can also sharpen by gripping the file handle in your non-dominant hand, the tip of the file in your dominant one, and pulling towards yourself in a sweeping motion. That’s called the draw method of filing.
Step 2 – Work the Cutting edge
If your axe is dull, you’ll be doing a lot of work with the file. When filing the edge of a dull axe, you want to actually curve it away from the file. This will create what’s known as a “burr,” a slight overhang on the edge of the blade curving away from the file. You should be able to feel it with your fingertip or slightly catch your fingernail with it.
When you’ve created an overhang – be careful not to change the angle of the blade too much – repeat the process on the other side. Be careful, however, not to curve the edge too far in one direction – to make sure I don’t go overboard I usually limit myself to a few passes on one side, switching to the other after two or three passes with the file.
Step 3 – Sharpen the other side
Keep working with the file until you have a straight edge that is free of any chips, dents, or other scoring. Remove the burr by making several passes with the file on both sides of the edge, switching sides with every pass. You might still have a bit of a burr on one side or the other – don’t worry about that, you’ll be able to remove it in the next step.
Once you’ve created a proper edge, you’ll want to hone it with a whetstone, also known as a sharpening stone. If your axe already has a decent edge, you can skip this step without using the file.
2. Sharpen an Axe with a Whetstone
Equipment Required
Using a whetstone – also known as a sharpening stone – is how you can make your axe edge sharp enough to shave with. There are several grades of whetstones, here’s a quick rundown:
- Up to and including 1000-grit whetstones are coarse and used for sharpening edges that are chipped.
- 1000 to 3000-grit stones are used to sharpen dull edges.
- 4000 to 8000-grit whetstones are used to finish the blade and refine the edge to perfection.
If you’re looking to buy a whetstone, I recommend buying a double-sided one that is 1000-grit on one side and 3000 or more on the other, or 3000/8000 if you want a finishing stone. Your axe doesn’t need to be as sharp and fine as a Japanese kitchen knife, so don’t worry about that too much. I use two kinds of sharpening stones.
At home, I use a Sharp Pebble 2-sided 1000/6000-grit waterstone – it’s cheaper than the big-brand-name stones and works just as well. Since it’s a waterstone, you won’t need any special honing oils to sharpen your axe edge – just water, usually found in abundance at home or in the bush. No oiliness to clean up, either.
In the bush, though, I bring along my Fallkniven DC4 “dry” sharpening stone. With this stone you don’t need water, which is great if you’re in a drier climate or don’t want to find water in the bush or sacrifice your drinking water.
Whetstone Technique
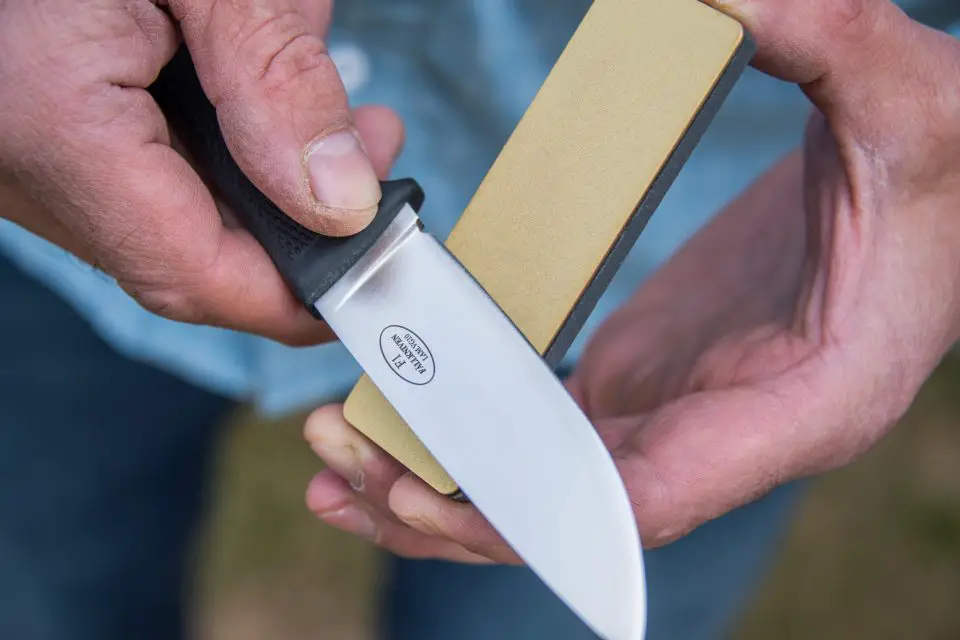
Anyway, once you have your whetstone in hand and your axe edge coated with honing oil or water (depending on what kind of stone you have), you want to place the stone against the edge. Rub it in circular motions against the edge, applying even pressure and going from one end to another.
Repeat this on the other side, and switch to the finer whetstone (or the finer side) when you feel the burr has become a “feather edge” burr to get rid of it completely.
And there you go!
When you’re done sharpening, apply a protective layer of oil, beeswax, or even Vaseline to your axe head and edge to keep moisture locked out.
3. Sharpen an Axe with a Rock
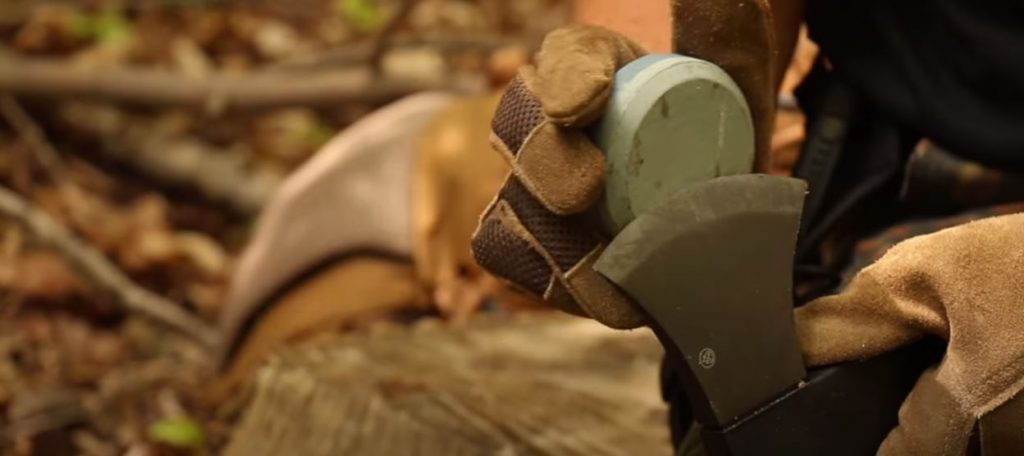
If you’re prepared, it’s unlikely that you’ll run into a situation where you’ll have to sharpen an axe with a rock or river stone that you find while out in the bush. Life surprises us, though, and even the most experienced woodsmen can get caught out in a bad situation. You can lose your axe or even your whole pack in a raging river or have it fall down a steep ridge or off of a cliff. An abandoned hut or cabin in the woods, with a rust-covered axe, might be your only refuge and source of survival tools after that. Who knows. In any case, sharpening an axe with a simple rock or river stone is possible.
Types of Sharpening Rocks
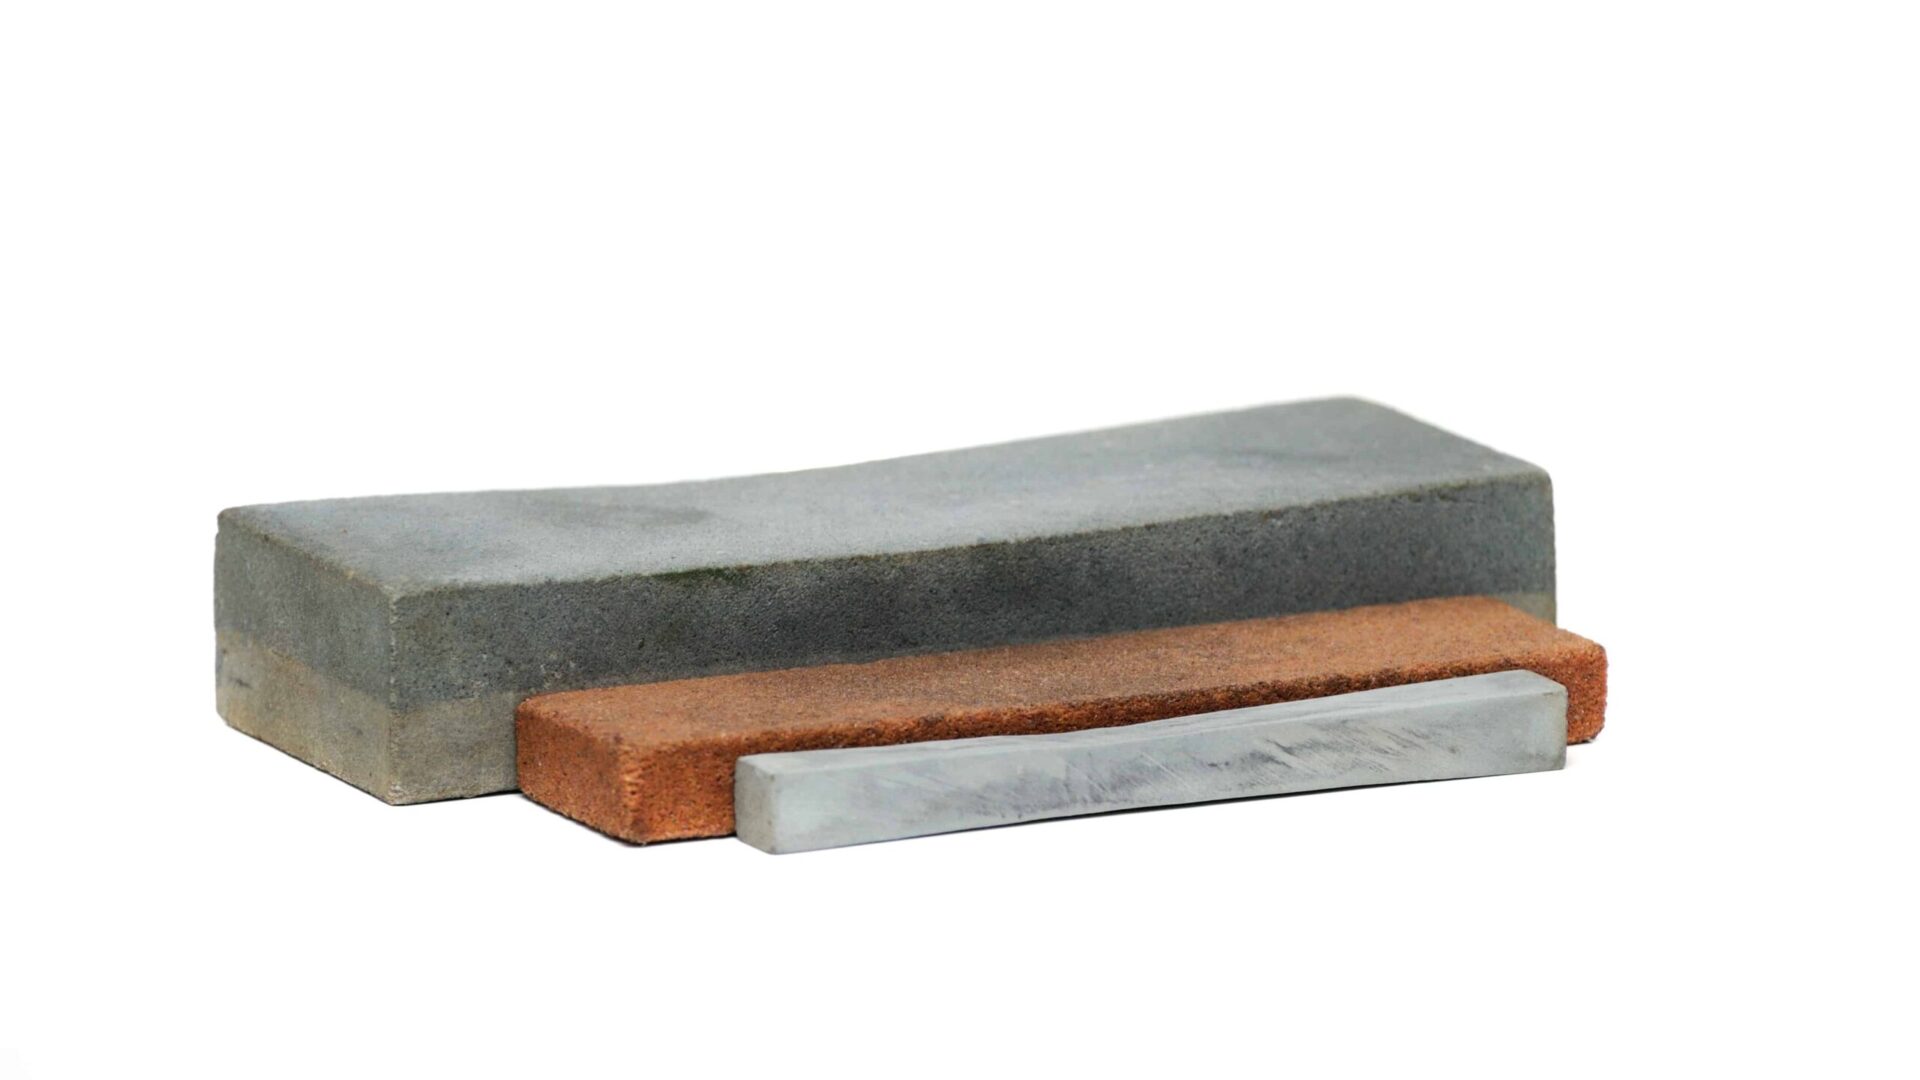
Here are the kinds of stones you can use:
- You can place large, relatively smooth stones on the ground and, holding the axe in your two hands, grind the edge against.
- Smaller stones, coarser (granite) or smoother (quartz).
- Moderately hard sandstones.
Rock Sharpening Technique
River stones are best for the purpose of sharpening an axe. You sharpen the edge the same way as you would with a manufactured whetstone – after all, what do you think a natural sharpening stone is? Start with the coarser stone, wet the stone and blade, and make circular motions up and down the length of the blade. Then, move on to the smoother stone when you’ve worked it with the coarse stone. Decently hard sandstone (nothing too crumbly) also works great for sharpening an axe, and can be just as good as the commercial products.
The bottom line is that if you find yourself in the bush with a dull axe, don’t despair! It’s easy to sharpen your axe with a rock or river stone if you know how to sharpen a hatchet.
4. Sharpen an Axe with a Dremel Tool
Sharpening an axe with power tools is one way of quickly making it nice and sharp. However, careless sharpening can lead to deforming and damaging your axe so bad that it becomes practically unusable. If they are what you have and want to use, though, here’s how to sharpen an axe with power tools such as dremels, belt sanders, and angle grinders.
Equipment Required
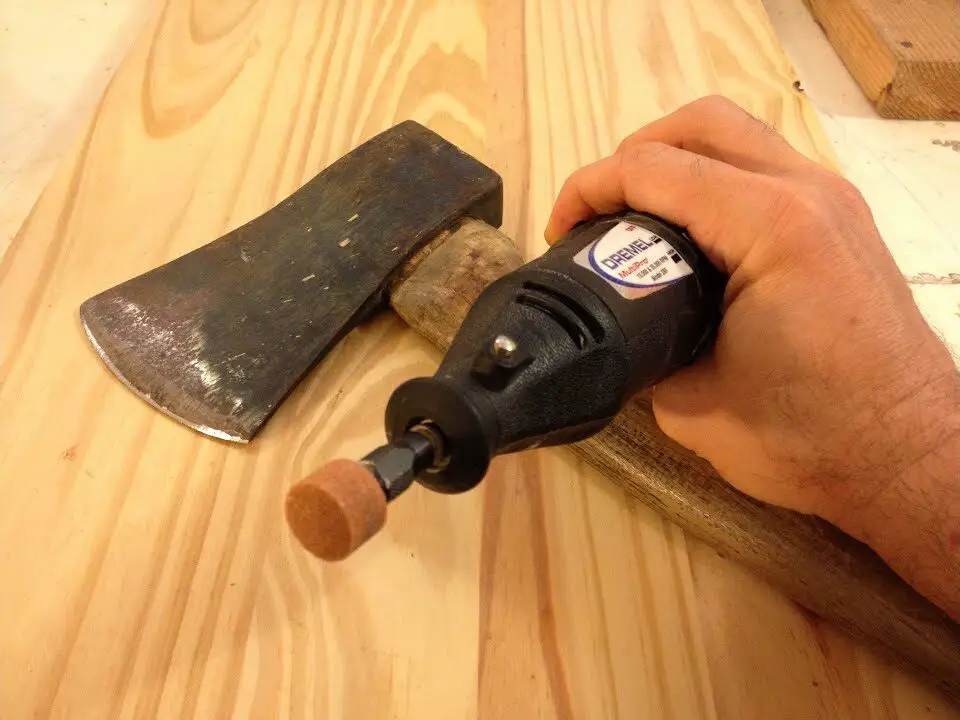
Many people have dremel tools lying around at home or in their workshops. These are great little tools and can sharpen an axe quickly. You can also damage your axe with them, so here’s how to use a dremel to sharpen your axe correctly.
You’ll need an appropriate dremel head – most people use aluminum oxide grinding stones. This is a great one from the original Dremel manufacturer, which means you’ll have a certain guarantee about the quality for a good price. You can get it from Amazon and probably many local stores.
Wear protective gear – long-sleeved shirt, eyeglasses, and preferably a dust mask if working in an enclosed area. Have a bucket or bowl of water handy to dip the axehead in to stop it from heating up too much and losing its temper, a real risk when using power tools.
Step 1 – Dremel sharpening technique
Once you’re ready, turn the dremel on and place the head flat against the axehead’s edge, following the axe’s bevel. Guide the dremel along the edge, making circular motions as you would with a sharpening stone. If the metal becomes hot to the touch (too hot to keep your finger on), stop! Let it cool or dunk it in water. Otherwise, you risk the metal losing its temper. That’ll make your axe edge more vulnerable to chipping, denting, and scoring.
Step 2 – Avoid overheating
Here’s a tip: overheating is usually caused by trying to sharpen a coarser grit with a finer one. If you’ve got a rusty axe, you shouldn’t start with a 6000-grit sharpening head on the dremel. That will heat the metal up to dangerous temperatures fast. Instead, start with a coarser-grit head and move up to a finer grit for further sharpening and finishing, just as you would with a whetstone. This applies to belt sanders as well.
Step 3 – Sharpen the other side
Repeat the process on the other side of the edge and change to a finer-grit dremel head if necessary. The most important thing is to follow the edge’s bevel, or angle, with your dremel tool. If you don’t, you risk changing the angle of that section of the edge entirely, and that’s an absolute pain to fix. Still, you’d have to try quite hard to ruin an axe edge with a dremel tool, so don’t be too afraid – be careful.
5. Sharpen an Axe with a Belt Sander
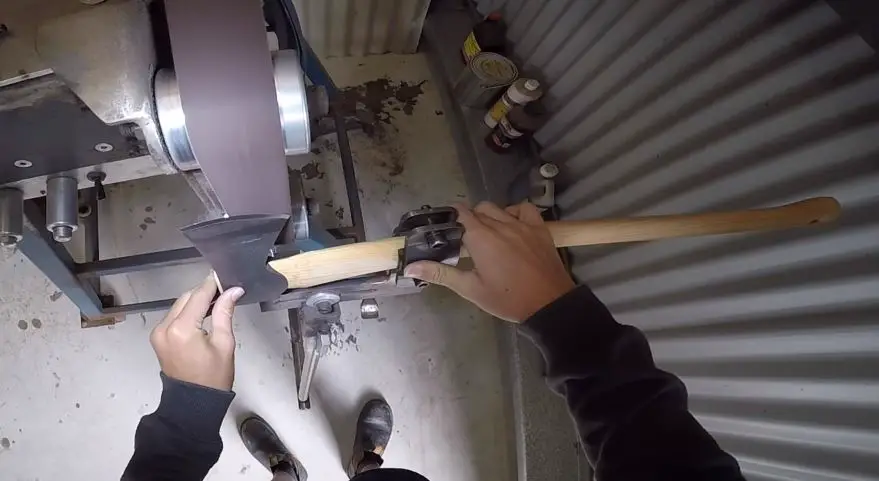
A belt sander is a powerful tool for sharpening an axe. If you’re using one to sharpen your axe, make sure you use protective gear such as gloves, glasses, and preferably a dust mask indoors.
When you have your belt sander set up and running, you’ll want to grip your axe head with both hands and run it across the sander in a slightly curving motion, carefully following the edge and curve of the bit. Don’t press down too hard, but don’t be afraid to apply pressure, either – the key is to apply pressure evenly, without rushing, but without keeping the blade against the sander for too long. Smooth passes – keeping the axehead in motion – are key to getting a sharp, even edge. Keep a bucket or bowl of water (or a spray bottle) handy to cool down your axehead and keep it from losing its temper.
Remember – adapt the sandpaper to the condition of your axe! A rusty, dull axe will need coarser sandpaper. Finer-grit sandpaper is also more risky in terms of the axehead overheating. Be careful not to use too fine a grit if you’ve got a dull and rusty axehead. Up to 1000 is generally fine for belt sanders – if you want a fine edge, I’d recommend switching over to a finer sharpening stone once you’ve got a nice edge from the belt sander!
6. Sharpen an Axe with an Angle Grinder
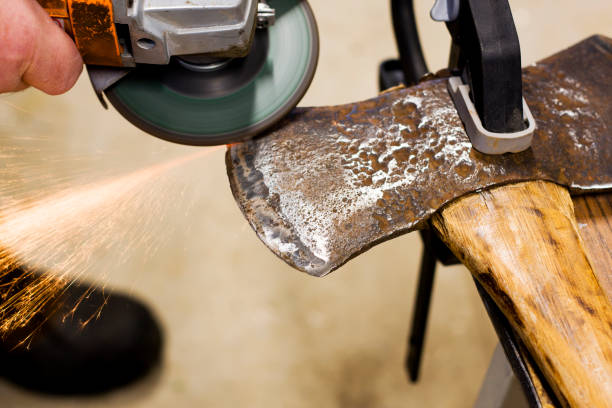
An angle grinder is the final power tool we’ll consider for sharpening an axe. You should fix the axe in place with clamps or a vise. I place a wood block under the axehead to make following the bevel easier. The procedure is the same as with other tools – follow the angle of the edge as closely as you can, using smooth, steady strokes as you pass the angle grinder over the axe bit. You shouldn’t make several passes on one side in a row, as you risk messing up the bevel with a tool as powerful as an angle grinder.
Remain focused on the work, and remember to wet the metal often to cool it down.
You can also use a bench grinder in the same manner – you just need to move the axe rather than the a grinder.
What is the Best Way to Sharpen an Axe?
I remain convinced that the best way to sharpen an axe is the old-fashioned way – by hand, using simple tools such as a file and sharpening stone. There is little risk of damaging your axe like you might with a power tool, and it doesn’t take much longer, either – if the axe is even somewhat decently maintained, re-sharpening it shouldn’t take much longer than 5 minutes.
Some axe users swear by their power tools for honing their edges – and if you want to change your axe’s profile, make the cheeks thinner and the angle of the blade smaller, then power tools will get you there faster. Power tools are fine to use if you know how to use them.
It might take sacrificing an axe or two to get the hang of it, so don’t use a belt sander or angle grinder on your new Gransfors Bruks or grandfather’s American felling axe if you’ve never done it before!
How Sharp Should an Axe Be?
Your axe should be as sharp as you can get it. Some axes, like a splitting maul, do not need to be sharp at all – in fact, they work better when blunt. But generally, for chopping axes, using up to an 8000-grit whetstone will get a razor-sharp edge. This will greatly assist the depth you can penetrate into the wood and increase the speed you can split firewood or fell a tree.
A properly sharpened axe should be sharp enough to shave with.
A recommendation from a logging buddy of mine is to sharpen your axe after every 30 minutes of chopping. This keeps it in top condition and will increase your chopping efficiency.
“A minute spent on sharpening may shorten your chopping time by 5 minutes,” Mors Kochanski, author of Bushcraft.
Hopefully, this article was helpful – if it was and you liked it, check out the rest of our how-to guides on axe purchase and care. Thanks for reading!

