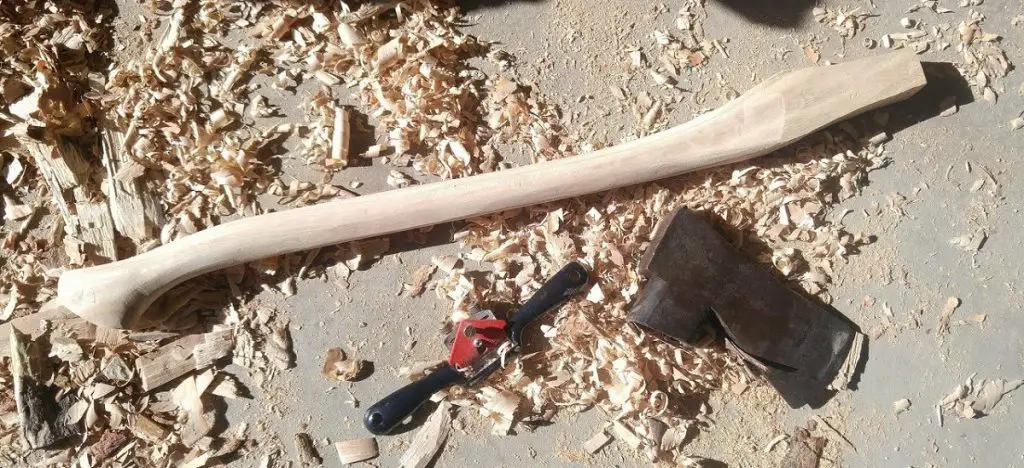
To make an axe handle, select a suitable hardwood like hickory or ash. Trace the desired handle shape onto the wood, and cut it out using a bandsaw or coping saw. Shape the handle using rasps, files, and sandpaper, ensuring a comfortable grip. Carve the top to fit the axe head, then secure it with a wedge.
Making a quality axe handle requires the right choice of wood and utensils. The wood needs strength and flexibility for reliable use.
Learning to make an axe handle allows you to bring new life to old tools. I prefer to make a new handle instead of tossing a perfectly good blade.

Table of Contents
1. Choose Wood Type and Size
The most common types of wood for axe handles include American hardwoods, such as:
- Hickory
- Ash
- Oak
- Birch
- Cherry
- Sugar Maple
- Osage Orange
Hickory is the traditional choice for axe handles. It is native to the Americas, which makes it readily available and affordable.
Hickory is also a durable, flexible wood. It offers enough flex to absorb more of the impact of your swings.
Hickory has a Janka hardness rating of 1820, which makes it one of the hardest of the American hardwoods.
Ash is not quite as strong as hickory. However, it provides a little more flexibility. It absorbs shock well, which can help minimize splitting and chipping.
Oak is a little more resilient compared to ash. It also has a coarser grain. It offers a little more grip compared to the previous options.
Birch falls somewhere between hickory and ash. Unfortunately, birch isn’t always available. I find that it’s often one of the more expensive choices.
Cherry and sugar maple are strong woods and the most affordable. However, both kinds of wood are more prone to shattering than the other options.
Osage orange is a premium type of wood. It has a unique yellowish-orange hue that gradually browns as it ages. It is durable and offers some flex, making it less likely to shatter or crack.
The length of the wood may vary from 16 to 36 inches. Sixteen inches is a common length for a hatchet. Felling and splitting axes may use handles measuring 30 to 36 inches.
2. Carve the Shape
First, you should plan the design the parts of the axe handle, including the curve, shoulder, and poll, depending on the type of axe.
Draw the profile of the handle on the side of the block of wood. The grain should run through the length of the block. You can use an old handle as a template if you are replacing an existing one.
Use a handsaw or a bandsaw to cut the rough shape of the handle. Adding cuts perpendicular to the inner curve of the handle can help when using a handsaw. The relief cuts reduce pressure on the saw as you round the curve. You can also use a drawknife once you have created the general shape.
You can also drill a hole for a lanyard. It is a good idea to drill the hole while the handle is still in its rough state. However, you should wait until the final steps to add a bevel on the outer sides of the hole.
3. Shape the Eye
Shape the eye before shaping the handle to avoid scuffing your hard work. Trace the outline of the top of the eye. Add a center line along the top, front, and back of the eye.
Carefully start removing material to shape the eye. Clamp the block in place to keep it steady as you work.
Work slowly to avoid taking off too much. You want the right fit when you add the blade head. The fit should be snug at the bottom of the head and have a small gap near the top.
4. Cut the Kerf
The kerf is a thin slot added at the top of the axe handle. The kerf is where you add a small wedge when you’re ready to hang the axe head.
The cut should extend about two-thirds of the length of the axe head. I prefer to use a handsaw to help keep the line straight as I cut down into the handle.
5. Shape the Handle
Begin shaping the handle using a metal file. Work slowly to avoid taking off too much material. The handle should have a curve that arches outward. The handle’s hilt and head should be wider than the middle.
The handle should also flare out slightly at the shoulder. This gives the head of the blade a little more support when you hang it.
Continue to shape and file the handle until it is the right size. The typical thickness of an axe handle is between 0.75 and 1.0 inches. Individuals with smaller hands may prefer a thinner handle.
The profile of the handle is typically oval. A thicker handle may have a rounder profile.
You can also make the profile flat or octagonal. An octagon-shaped handle can provide a little bit better grip.
6. Sand the Handle
Sand the handle to eliminate any remaining imperfections and create a smooth surface. You should also add a bevel to each side of the lanyard hole.
The bevel helps reduce the risk of cracking around the lanyard hole. It also protects the lanyard rope from fraying.
Use coarse sandpaper to remove the marks from the file, rasp, and drill. I often start with 60-grit sandpaper before moving to 100-grit sandpaper. 220-grit sandpaper is used at the end to smooth it all out.
7. Oil the Handle
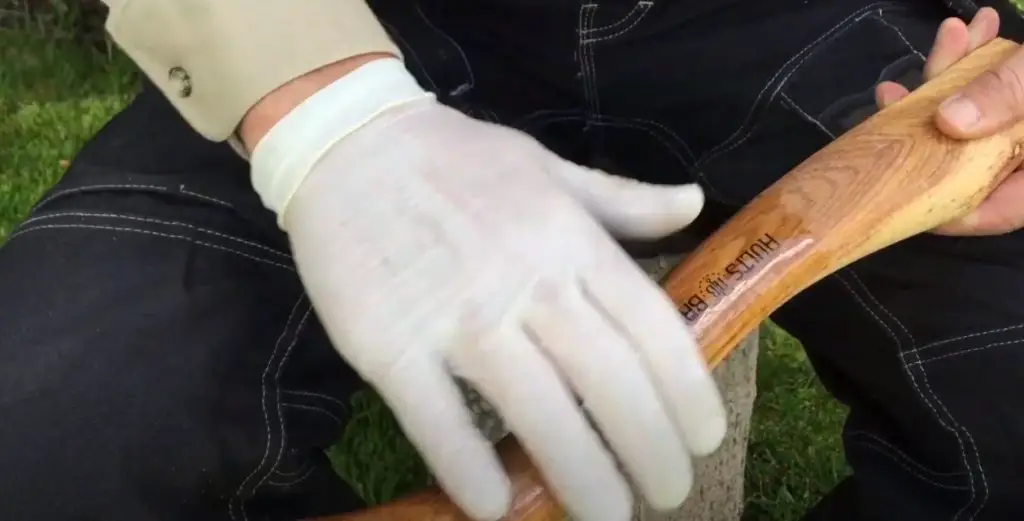
Apply a small amount of tung oil or beeswax to the handle. Rub the oil into the handle using a rag and allow it to sit overnight. You can apply numerous different finishes to your axe handle, depending on the color.
You can now attach the blade head to the handle. Work the head down the handle to the desired spot. A ¼-inch to ½-inch section of the handle should protrude from the top of the blade head.

You can insert the wedge with or without wood glue. Using wood glue decreases the risk of the wedge sliding back out during use. It also makes it more difficult to replace the wedge if necessary.
Place the axe handle on a flat, solid surface before inserting the wedge. I typically perform this step on concrete.
Insert the wedge as far as it can go using just your hand. Use a large wooden mallet to hammer the wedge into place. Continue to strike the butt of the handle until the wedge can go no further.
You can now sand the end of the wedge and the handle above the blade head. Sand and oil the handle one last time.
