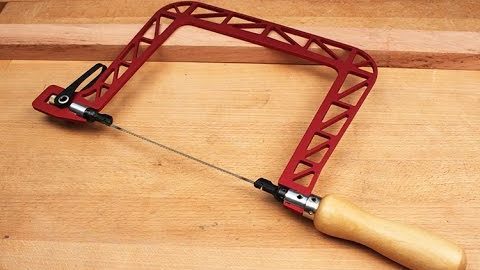
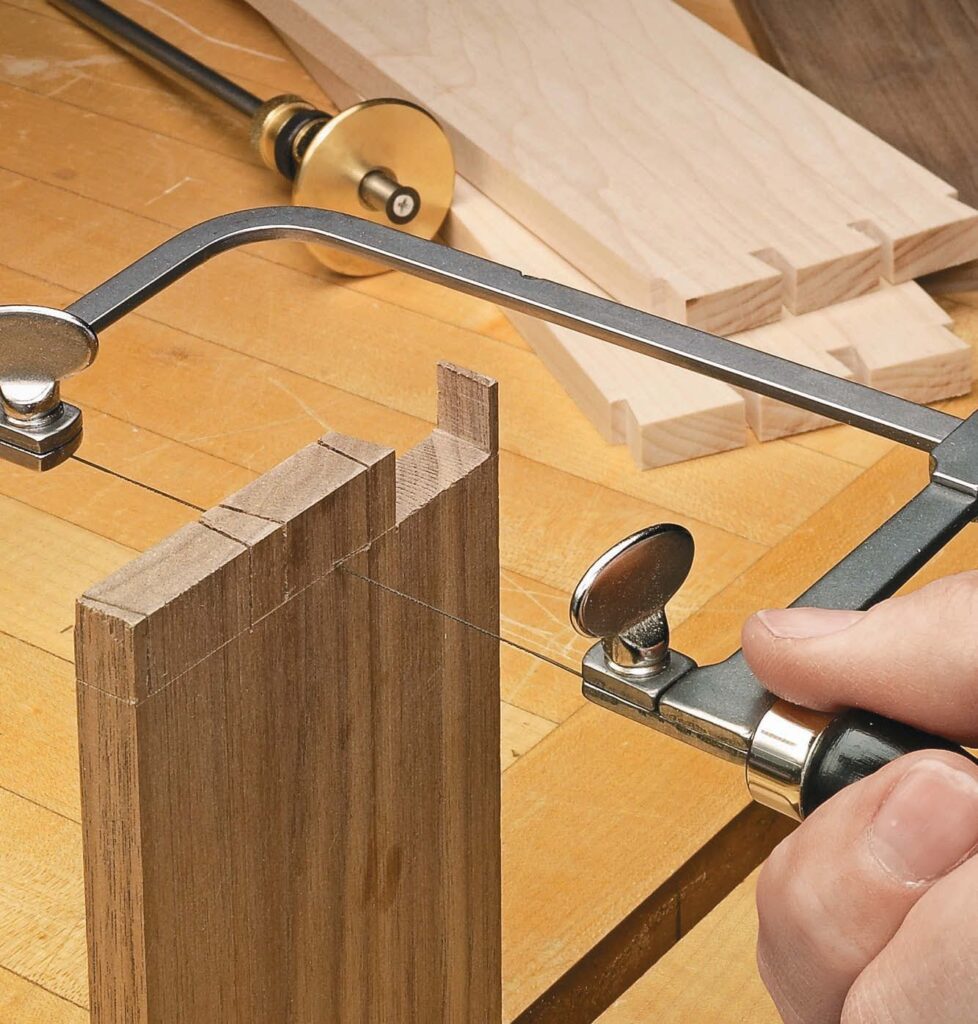
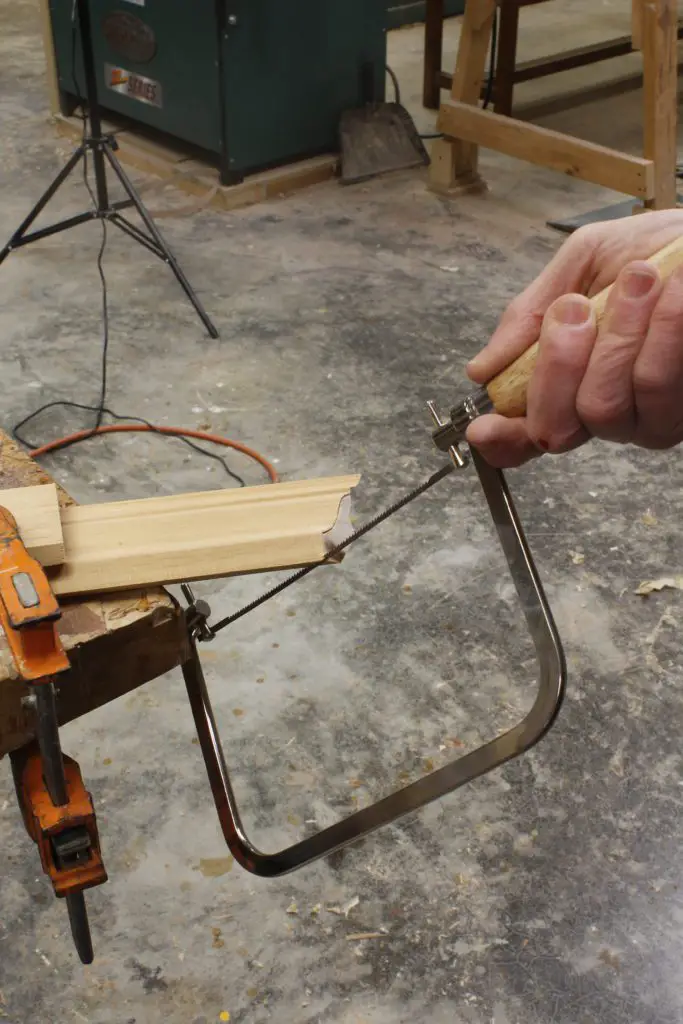
To use a coping saw, first secure the material in a vise or clamp. Install the blade with teeth facing outwards and adjust the tension. Hold the saw with a comfortable grip, start cutting at the edge of the workpiece, and guide the saw through the desired curve or shape, maintaining control and following the cutting line.
A coping saw is a tool you’ll need when you want to cut curves, molds, or make holes. Thanks to its thin blade, this small yet mighty tool can do what other woodcutting tools can’t. This is why I believe it’s one of the best additions to your DIY arsenal.
This is rather an old tool, as it was invented for the first time around the 16th century. Today, you can use it to make internal cutouts or external shapes with great precision. I will explain how to use a coping saw, even if you’re a first-timer. So, let’s dive in.
Table of Contents
What is a Coping Saw Used For?
A coping saw is a type of bow saw you can use to make external shapes and interior cutouts in carpentry, woodworking, and other DIY projects. It’s a detailed cutting tool that can be used in fretwork, where it can successfully cut through thin materials.
You can use a coping saw in woodwork to cut curves and even circles if you’re careful. You can make smoother curves using slow motion, while more pressure results in sharper cuts. Some coping saw blades can be used to cut through plastic and aluminum tubing.
You can use it for the following purposes.
- You can use a coping saw to design cabinets and doors to make corners.
- It’s widely used in decorative woodwork.
- You can use a coping saw for molds.
- The coping saw can be used to make joints for various furniture pieces.
- It’s used as a trimming tool for wood or plastic.

Prepare Your Coping Saw
Understanding the potential of this useful tool will help you create detailed fine cuts with accuracy and precision. The coping saw’s fine blade can cut through various materials but can also be dangerous if it’s not installed correctly or you’re not trained enough to use it.
Here’s how to prepare your coping saw for use.
Wear Your Protective Equipment
Working with cutting tools is fun, but you must ensure you’re properly protected. Wearing protective work gloves is a must as this will reduce the risk of injury if you accidentally hold or run the saw incorrectly.
While working with a coping saw, you also need to protect your eyes from shards, so put on your safety goggles before you attempt to use it. You should also ensure that your clothes aren’t too tight or loose to allow you to move comfortably while working.
Wearing protective work shoes is essential. They have non-slip outsoles and a protective toe cap. The thick leather is also resistant to cuts. If you have long hair, you must tie it back before you start working.
Install the Blade
The coping saw’s blade is hardened steel and can easily cut through body parts if not used carefully. You must install it correctly by holding the handle up after setting the frame’s end on a table or workbench.
After that, you need to attach one end of the blade to the furthest end of the handle and press down to attach the other end. You’ll need to adjust the tension before using the saw.
Use a Protective Case
Once you’ve installed the coping saw’s blade, it can make deep cuts. However, if it accidentally falls on your foot or hits your hand, it will cause a severe injury. You need to keep the saw in its protective sheath if you’re not using it.
Set Up the Work Area
Working with a cutting tool can be extremely dangerous if you don’t know how to work with it. This is why you must clear the work area of any other objects that might obstruct the coping saw’s operation. You also should keep your fingers and hands away from the blade’s path.
Before working with your coping saw, you must secure the material to the workbench. Use clamps to secure your material, so it doesn’t move while cutting. This will guarantee the accuracy of the cuts and will protect you from potential injuries.
Maintain Your Coping Saw
A coping saw is dangerous if the blade’s teeth are dull or missing. You also need to ensure the blade isn’t loose, as it might accidentally move while cutting.
After each use, you should apply an industrial lubricant to the blade’s teeth to keep them in good condition.
How to Cut a Straight Line with a Coping Saw
The coping saw’s thin blade is designed to cut through a thin material that is less than one inch thick. Cutting a straight line is one of the most straightforward jobs if you have a sharp coping saw. Here are the right steps to follow.

Step 1: Choose and Install the Right Blade
For woodworking projects, your blade should have 15 teeth or fewer to cut through wood. High-carbon blades are suitable for cutting through metal sheets. If you want to cut plastic, choose a helical blade, while a wire blade can cut through tiles.
If the blade isn’t installed, install it from the spigot away from the handle. Then press down to secure it in place and adjust its tension.
Step 2: Secure Your Material
The surface you’re cutting should be fixed and secured, or you won’t be able to cut a straight line. It might even accidentally hit your hands.
Use clamps to secure and tighten your work material to keep them in place.
Step 3: Draw and Trace
Draw a line using a pencil or a marker. After that, use your coping saw to trace the line.
Start by placing the center of the blade at the beginning of the line. Then, push the blade slowly to cut through the material.
Step 4: Start Cutting
If desired, trace the line you plan to cut onto the wood. Then place the saw’s central teeth at the start of the line.
Push the saw quickly to finish the cut and turn the handle as needed. The thin blade can break accidentally, so you must release and replace it before you can continue sawing.
How to Cut a Hole with a Coping Saw
Although cutting a hole in the middle of a wood sheet isn’t easy, a coping saw makes it one of the easiest tasks. Here are the right steps to follow.
Step 1: Remove the Blade
Squeeze the saw to unlock one end of the blade and then the other. Place the blade in a secure place because you’ll need it later.
Step 2: Trace the Hole
Use a compass or a round object to trace a circle. In the center of the circle, drill a hole to cut through your hole without having to cut through the material.
This technique is suitable for DIY projects and decorations because you won’t damage the material you’re working with to get to the center.
Step 3: Cut the Hole
Pass the coping saw through the hole you’ve previously drilled. Then, attach one end of the blade, and always start with the end further from the handle. Press down the saw to attach the other end, then adjust the center.
From the center, move your coping saw through the line you’ve drawn until you’ve reached the edge of the traced shape.
How to Cut a 45-Degree Angle with a Coping Saw
You’ll need to follow this technique if you’re cutting molding. Using two 45-angle cuts, you’ll make the perfect 90-degree angle for your corners. All you have to do is follow these steps.

Step 1: Cut the End of a Piece of Wood
Choose the piece you want to work with and cut its end so it’s easier to cut and fit into a corner. Use a miter saw to prepare your piece for work.
Step 2: Use Your Coping Saw
Start by cutting at a 45-degree angle, leaving the end so it can fit nicely. Secure your material and use both hands to move the coping saw to cut at a 45-degree angle.
In the real world, corners might not equal perfect 90 degrees, so you might need to move your coping saw and cut slightly at an angle toward the piece’s end.
Wrap Up
A coping saw is a delicate saw designed to cut curves and circles. Despite having a thinner blade, you still need to wear protective gear and use it wisely to be able to cut any traced shape.
It’s important to secure the material and hold the coping saw using both hands. Picking the right blade for the material is also essential.
Following the right steps, you can cut a straight line, a circle, and a 45-degree angle to create the perfect corner.
