To fell a tree in the desired direction, assess the tree’s lean and surrounding hazards. Plan an escape route. Create a 70-degree open-face notch on the fall side. Cut a back cut 2 inches above the notch apex. Use wedges to control the fall, if needed.
One of the most important aspects of felling a tree is control. Trees are massive objects, and gravity turns them into dangerous weapons when they fall. You don’t want a falling tree to damage surrounding trees you’re still letting grow, your property, or in the worst case scenario, hurt you or someone else.
Luckily, controlling the direction of a falling tree is surprisingly simple, with some basic knowledge about landscaping and physics.
The key to felling a tree in the direction you want is to choose the right felling cut and cut the notch in the right direction. Once you make this choice, adjust the rest of your process to make sure you are following the right steps that give you control over the felling process.
Here is a step-by-step breakdown of the process you need to follow to get trees to fall in the direction you want.
Table of Contents
Step 1. Prepare Your Equipment
Preparing your equipment is the first step in landscaping or outdoor activity. If you are using an axe, make sure that your blade is sharpened. If you are using a chainsaw, make sure that the chainsaw is well-oiled and fueled.
Preparing your equipment means ensuring you are prepared to use it properly. Do you feel comfortable using your chainsaw, hand saw, or axe? Practice on smaller projects such as splitting logs before using a new tool to fell a tree. You don’t want your first time using a new tool to be on such a big, potentially dangerous task as felling a tree. If you’re not confident in your tools, use something you are more familiar with such as a felling axe instead of a chainsaw, or call in the professionals.
The last thing you need to prepare is your safety precautions. Your chainsaw or axe is not the only equipment you need. You also need PPE such as gloves, steel-toed boots, eye protection, and ear protection. You also need assistive tools such as ropes and wedges.
People are also important — make sure you have a buddy on hand while you are felling trees to help you out and rescue you from a hairy situation.

Step 2. Clear the Area
No matter how well you plan the direction of your tree falling, you can’t fully predict how well the tree will fall. You need to clear the area of anything that could get damaged in case of a falling tree. Move vehicles, sheds, and other equipment that could get damaged. Make sure all people and animals are far away from the direction of the falling tree.
Smaller trees and bushes on the way will get crushed by the falling tree or could cause the tree to bounce, leading to unpredictability. Either clear the smaller trees first or change the direction of your tree felling project.
If you have items in the way that you can’t move, such as a house, then you will need to change the direction of your tree felling.
Step 3. Limb Lower Branches
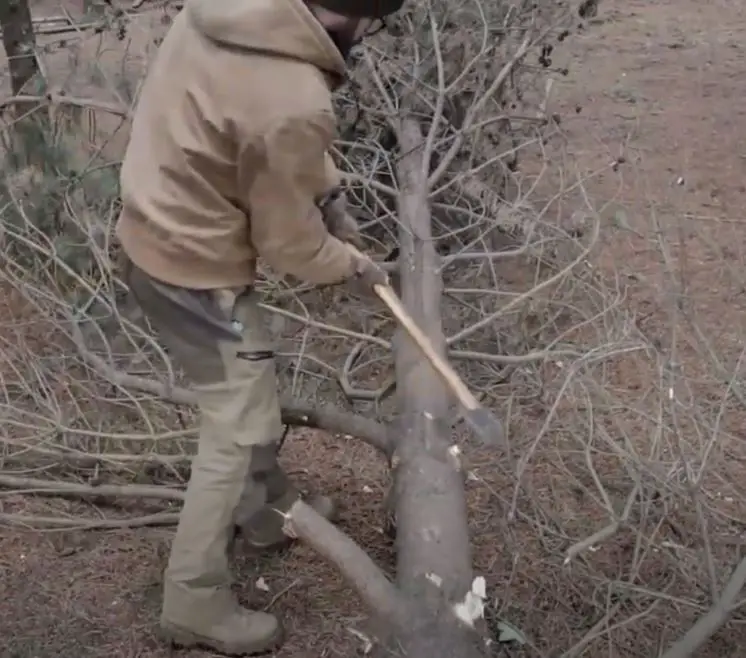
The first time you get your axe or saw in action, it won’t be to fell the tree itself. Instead, you need to do some preparatory cutting.
“Limbing” is the process of removing branches from a tree that is either standing or on the ground. You want to limb your tree before you fell it because the lower branches can impact the way it falls. When you cut off the lower branches, you lower the tree’s center of gravity, meaning the fall will be more controlled instead of potentially swinging every which way.
You don’t have to go crazy with limbing a tree before felling it, just cut off the branches you can reach while standing or with a stepladder. Set up your ladder and haul your saw or axe up using a rope (never climb a ladder while holding a sharp instrument, the potential for accidents is very high). Then, cut the branches using steady cuts, always putting the trunk between you and the saw instead of standing directly behind it.

Step 4. Choose Your Felling Direction
Before you can get to work felling your tree in a certain direction, you have to decide which direction you want it to go. There are a few factors you need to consider, including:
- Valuable property such as your house
- The leaning angle of the tree
- Wind direction
- Branch angles
- Escape routes
If the branches or trunk are already leaning to one side, cutting so that the tree falls to that side is easier since you are working with gravity, not against it. Rocks or logs where your tree can come to rest are also helpful.
Finally, don’t forget to plan for escape routes. You must escape the tree as soon as you cut into it. If you plan the felling direction over the only paths you can take to get out of the area, you will be in trouble.
Step 5. Create Your Notch
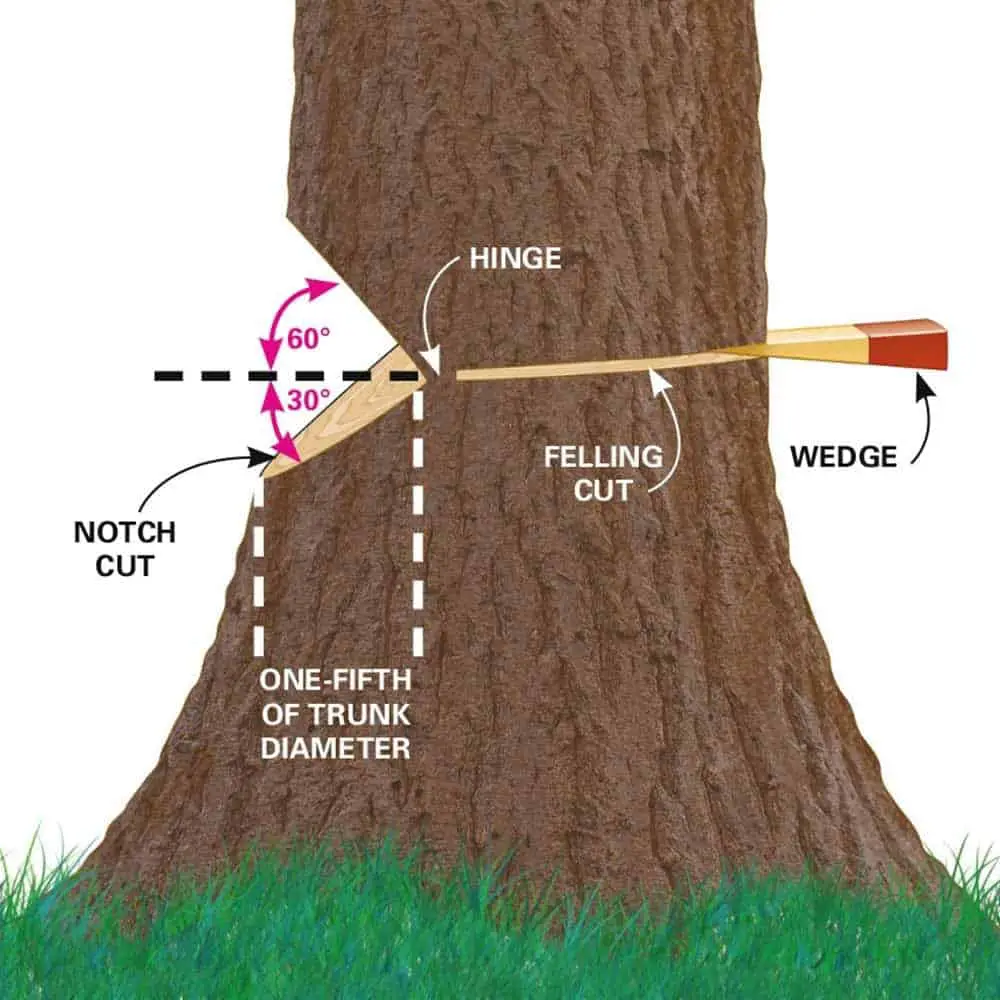
Notch cuts are the types of cuts loggers use when they want complete control over the direction of the felled tree. There are three types of notch cuts: Humboldt notch cuts, open-faced notch cuts, and conventional notch cuts. They differ slightly in angles, cut order, and specific qualities. For example, conventional notch cuts are the fastest, while Humboldt notch cuts are best for inclines and getting the most usable wood out of a tree.
The notch acts like a wedge. When the tree falls, the upper part of the notch rushes to meet the bottom, ensuring that the tree topples in the direction of the notch.
When making your notch cut, cut it in the direction you want the tree to fall in. Cut the notch wide enough to make a dent. Make sure you leave a strip in the back that still holds the trunk together.

Step 6. Cut Your Felling Cut
The felling cut is the cut you make across the last bit of the trunk holding it together. This is the cut that brings the tree down. That means safety is paramount when you’re making the felling cut.
The felling cut goes from outside the tree towards the hinge or wedge. It is a narrow, flat cut that goes straight in instead of at an angle. Make it a few inches above the hinge point.
Don’t cut all the way in. Leave a few inches that act as a hinge. This gives you enough time to get out of the way.
You shouldn’t stand directly behind the tree when making this cut since you never know if your calculations are a little off and your tree might topple backward. Always stand to the side and ensure the path in front and behind the tree is clear.
Step 7. Decide When to Use Felling Wedges
Sometimes, your felling cut and notch won’t be enough to bring a tree down. That is when most experienced loggers bring in felling wedges. Felling wedges ensure the tree falls in the direction you want it to go, and give that extra push to make it fall. They are perfect for larger trees that won’t topple with just a felling cut.
You insert your felling wedges when you start making your felling cut, but before you complete it. To use felling wedges, make an initial felling cut. Then, insert the point of the wedges. Use the back of your axe to knock in the wedges. You should immediately see the cut lift a few inches. Finally, use your saw or axe to finish the felling cut.
Step 8. Retreat at the Correct Time
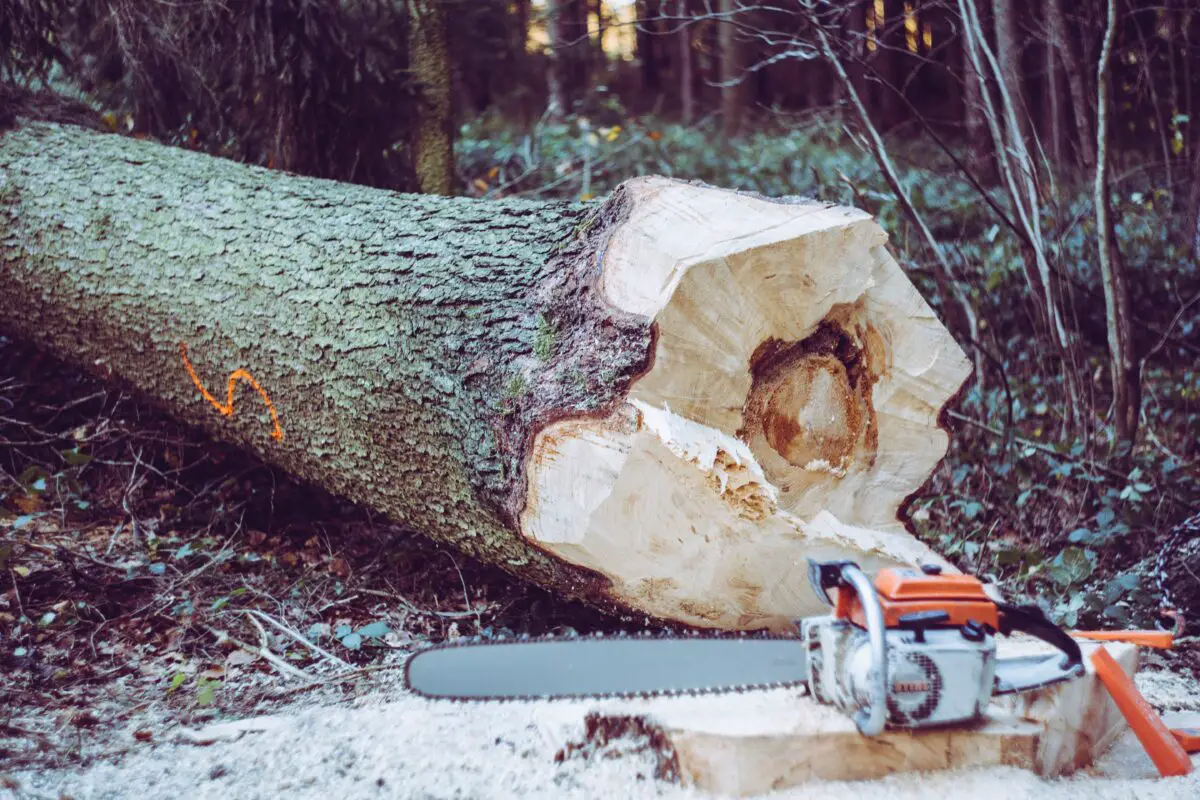
The last step in felling a tree is the most important one for your safety—retreating. Staying around and admiring your handiwork may be tempting, but you can do that once your tree is safely on the ground. As soon as you make your felling cut and you notice the tree start to move, it’s time to retreat.
That is why leaving a hinge when you make your felling cut is essential. The tree will slowly start to topple but won’t fall completely until the hinge snaps. That gives you enough time to get away. You want to run away from the tree and to the side. Don’t run in the direction of the falling tree, and don’t go straight backward either—you never know if the tree could start tilting backward.
When planning the direction of your cut, you should also plan your escape route and the escape route for the person helping you. Have two routes in mind in case the tree shifts direction and blocks you from accessing one.

Final Thoughts
To control a fallen tree’s direction, cut the notch in the direction you want it to fall in. Make sure you follow all the right steps because even with the most control, the tree could still fall in unpredictable ways, and you need a clear escape route.
