featured article
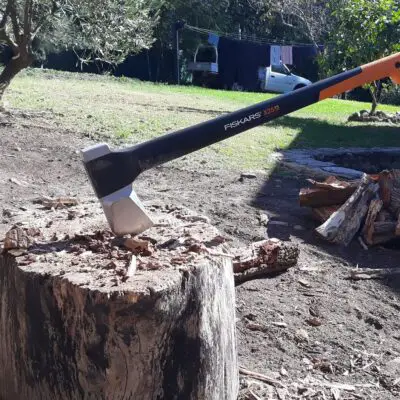
Throwing Axe Recommendations for Beginners
Most Popular articles
Latest articles


To infuse the right flavor into your meat during a smoke-out, choosing the right …

A standard full cord of firewood is 128 cubic feet, typically arranged in a …

The cost of an axe can vary widely based on type, quality, and brand, …

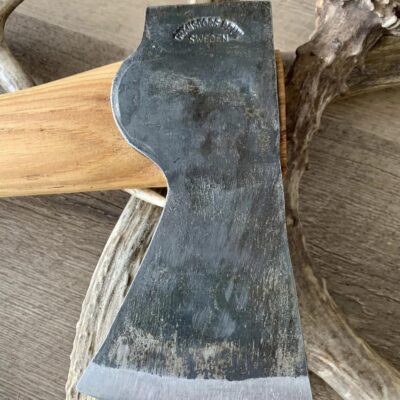
Blackening an axe head involves four steps: removing rust using steel wool and vinegar, …

The best steel for axes hinges on purpose, such as chopping, felling, or throwing. …

The best splitting mauls weigh between 6 and 8 pounds, with a 32 to …

Axe handle patterns refer to the specific shape and design of an axe handle, …

The best felling axes are 32 to 36 inches long and weigh 4 to …

The best log splitters for firewood have sufficient power to cut through your largest …

The best chainsaws for the money are manufactured by reputable brands, have just enough …

The best splitting axes are 28 to 36 inches long, weigh 4 to 6 …

A cord of wood weighs between 2000 and 5500 pounds, depending on the type …

The wedge is an underestimated part of the axe handle. It is crucial for …

Picture a frontier explorer like Davy Crockett, and you’ll probably picture a man with …

To remove an axe head, first remove the wedge by carefully drilling or chiseling …